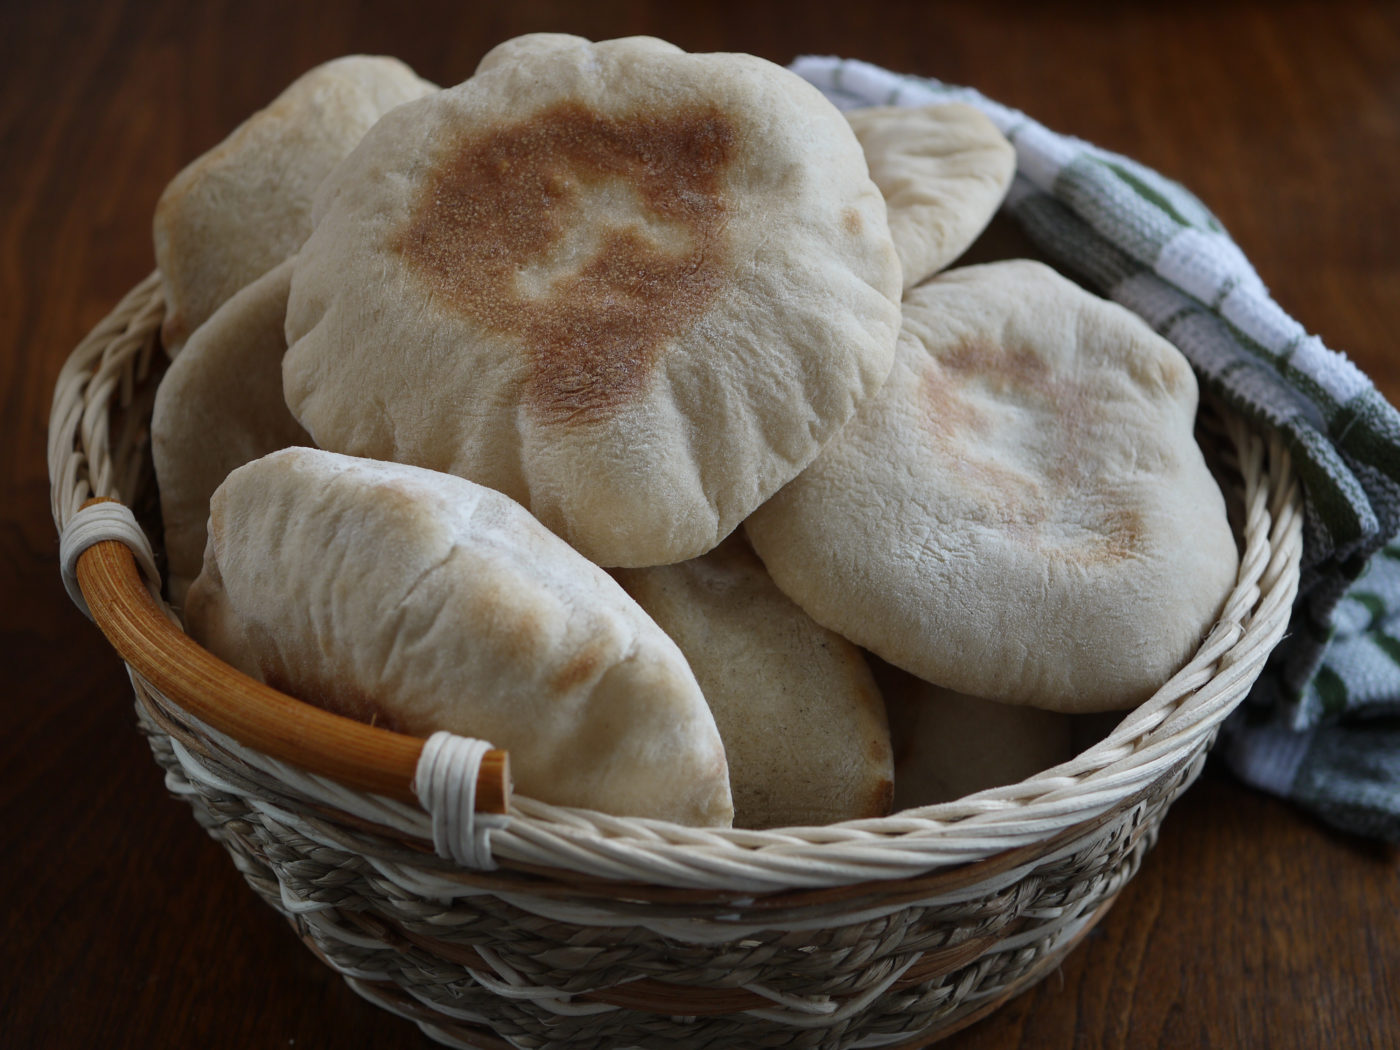
You MADE the pita?! That’s a question we often get when we bring homemade pita to the table. Don’t tell anyone but it’s really not that hard. Just takes time and patience while you wait for the rise. Watch our video for tips on Pita Shaping and Baking.
We find pita to be the perfect companion for Kafta, Tabbouleh and Tahini Sauce – perhaps for your next Shabbat meal or Succot celebration. Click here for our other Lebanese recipes.
Makes 12-16 Pita Rounds
Ingredients
- 3-1/2 cups flour + extra for flouring work surface and working dough
- 2 tsp active dry yeast + a little warm water to activate the yeast
- 1 cup water
- 2 tsp salt
- 2 tbsp extra virgin olive oil
- 1 tbsp honey
Instructions
- Mix yeast with a little warm water and set aside for 5 minutes
- Add flour to a large bowl and mix in yeast mixture, honey and 1/2 cup water
- Add salt and extra virgin olive oil
- Add more water a little at a time until the dough comes together (it will be sticky)
- On a floured surface, knead the dough for 10 minutes (you can also knead the dough in a stand mixer using the dough hook - 8 minutes). Add flour along the way to minimize the amount of dough that sticks to your fingers. The dough will still be slightly sticky
- Place the dough in a bowl oiled with a little olive oil, cover with a towel and let sit in a warm, draft-free area for 1 hour or until the dough doubles in size
- When dough has risen, punch it down, remove from the bowl, place on a floured service and divide into 4 equal pieces. Put 3 of the pieces aside and cover with a damp towel
- Make a rectangular log out of the piece you have out and divide into 4 equal pieces. Take each piece and form it into a little round circle. Place on a floured baking sheet
- Repeat for the remaining 15 pieces. NOTE: If you don’t have room for all 16 pieces, you can place some of the dough back in the refrigerator, wrapped or covered (it will continue to rise so allow room)
- Cover the rounds with a damp towel and let rise for 10 minutes
- Roll rounds out one at a time with a rolling pin on a lightly floured surface to 4-6” in diameter, keeping the others covered with a towel. (You can also just flatten the dough with the palm of your hand and gently stretch them into shape.) Place rolled out dough portions on a lightly floured cookie sheet. Depending on the size of your oven, you can probably fit 2-4 pitas on a cookie sheet at a time
- Cover the rolled out dough for another 5 minutes
- In the meantime, preheat your oven to 500 degrees
- Bake the pitas for 4 minutes on one side, flip and cook for another 1 minute on the other side. Remove from oven and move pitas immediately to a basket or bowl so they don’t burn
- Continue to roll out dough and bake until you have as many pitas as you’d like
- Serve immediately or store covered securely with plastic wrap and serve within a couple of days


Can this receive done with almond , coconut, and other type of grains?
My aunt made these all the time. Thanks for the recipe
Looks delicious
I cannot wait to try these?