Menorahs are meaningful to each and every Jewish family. Whether they have been passed down through generations or new to the family, they are treasured. Creating a one of a kind Menorah for your family is a wonderful gift that your family can cherish for years to come. And if you want to make the candles for your Menorah, it’s surprisingly very easy. To learn how, watch our Homemade Beeswax Candles video (scroll to bottom of that page).
It’s fun and easy to make your own Menorah. Menorahs can be made with items you may already have around the house. Watch the video and follow the steps below to learn how.
Here’s what you’ll need:
Materials:
- one 12” 2 x 4 or scrap wood
- nuts (hardware) for making candle holders
- sandpaper
- clear glue or glue gun
- Sharpie pen
- paint (acrylic) or spray paint
- glass mosaic pieces or other creative décor pieces for your Menorah
How-to:
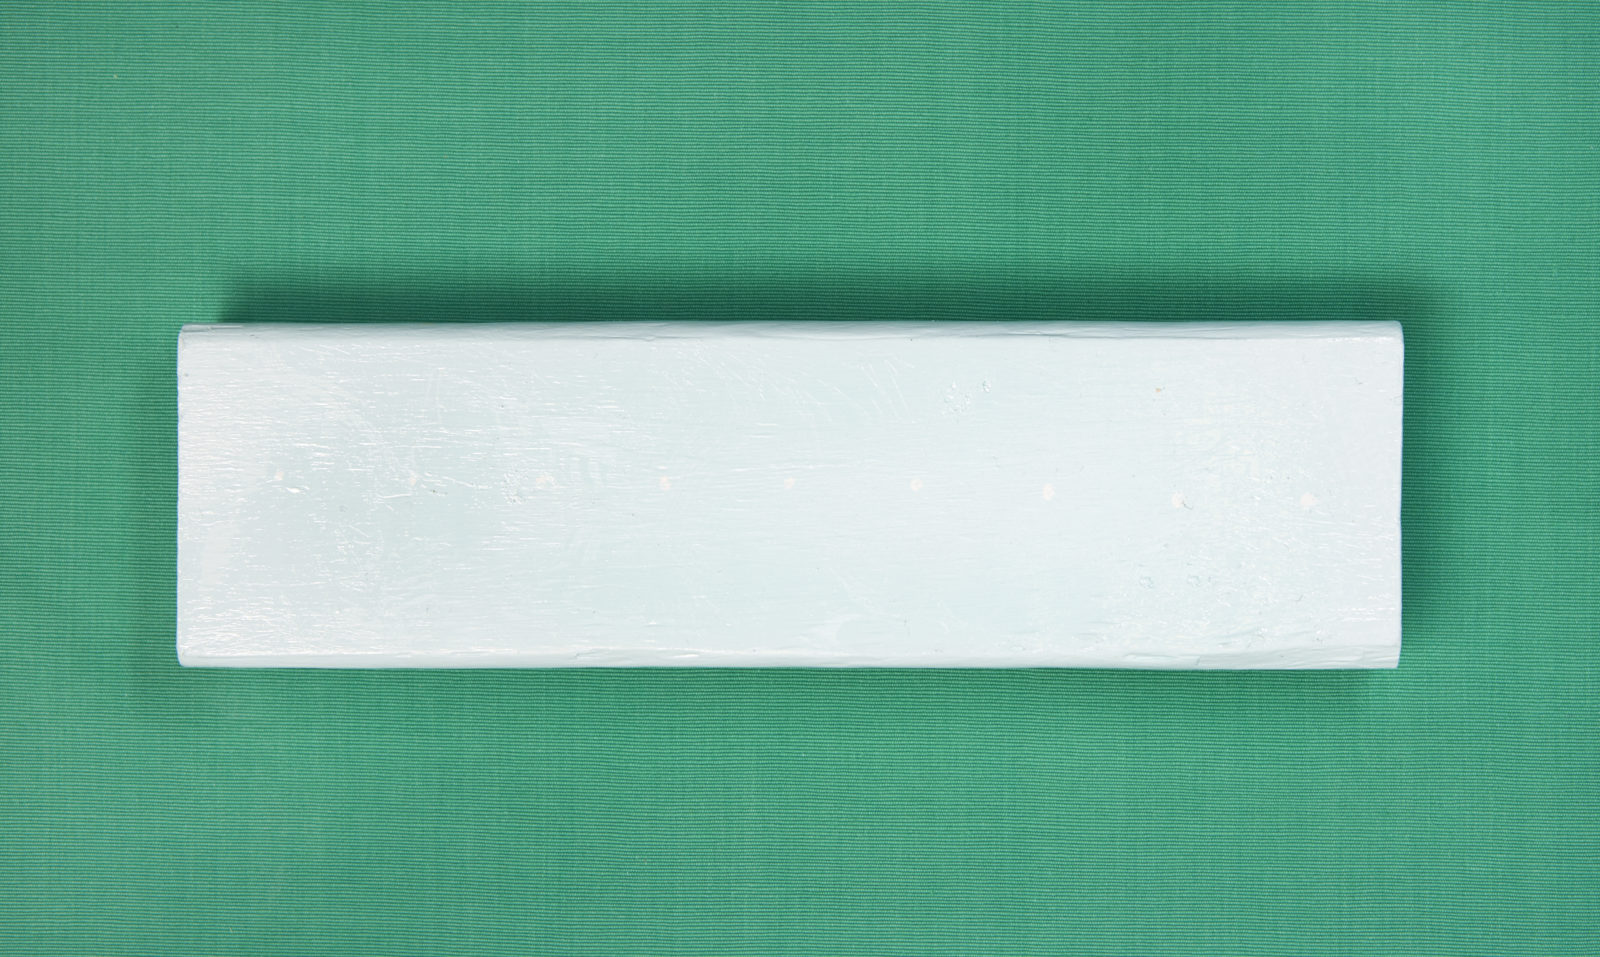
Step 1:
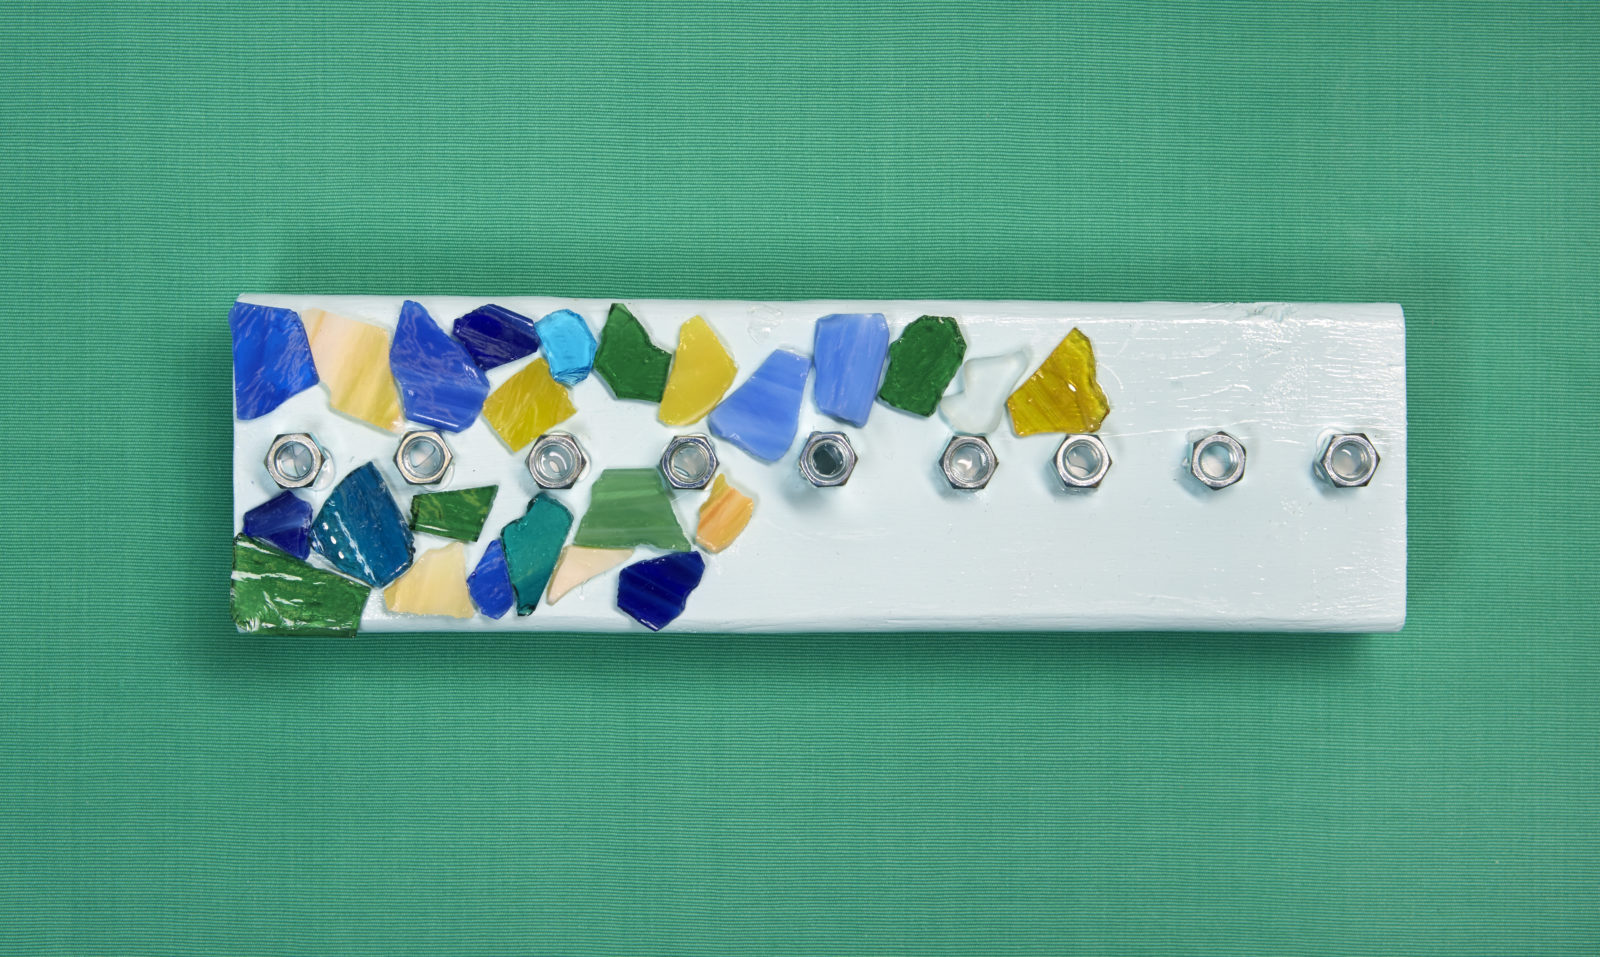
Sand and paint a 2×4 and use a ruler to make 9 equally spaced marks across wood to indicate where you will be gluing the nuts.
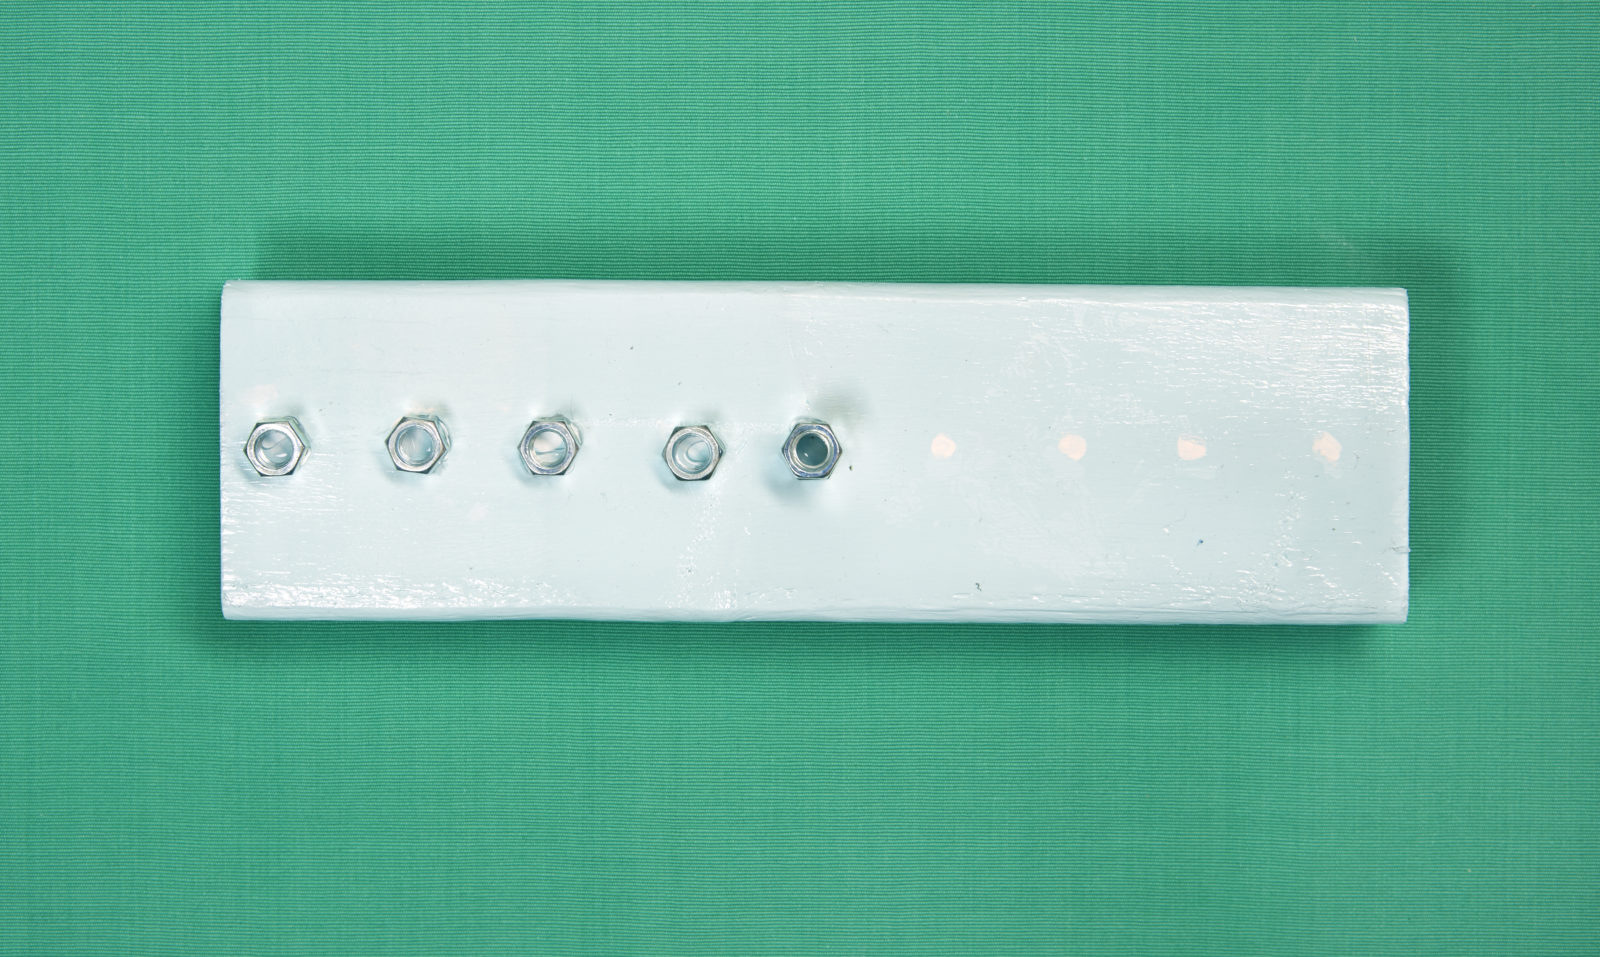
Step 2:
Glue nuts to Menorah with clear glue or glue gun so you won’t see the glue. The middle candle holder (Shamash) should be raised, so stack two nuts on top of one another and glue together for this middle candle.
Step 3:
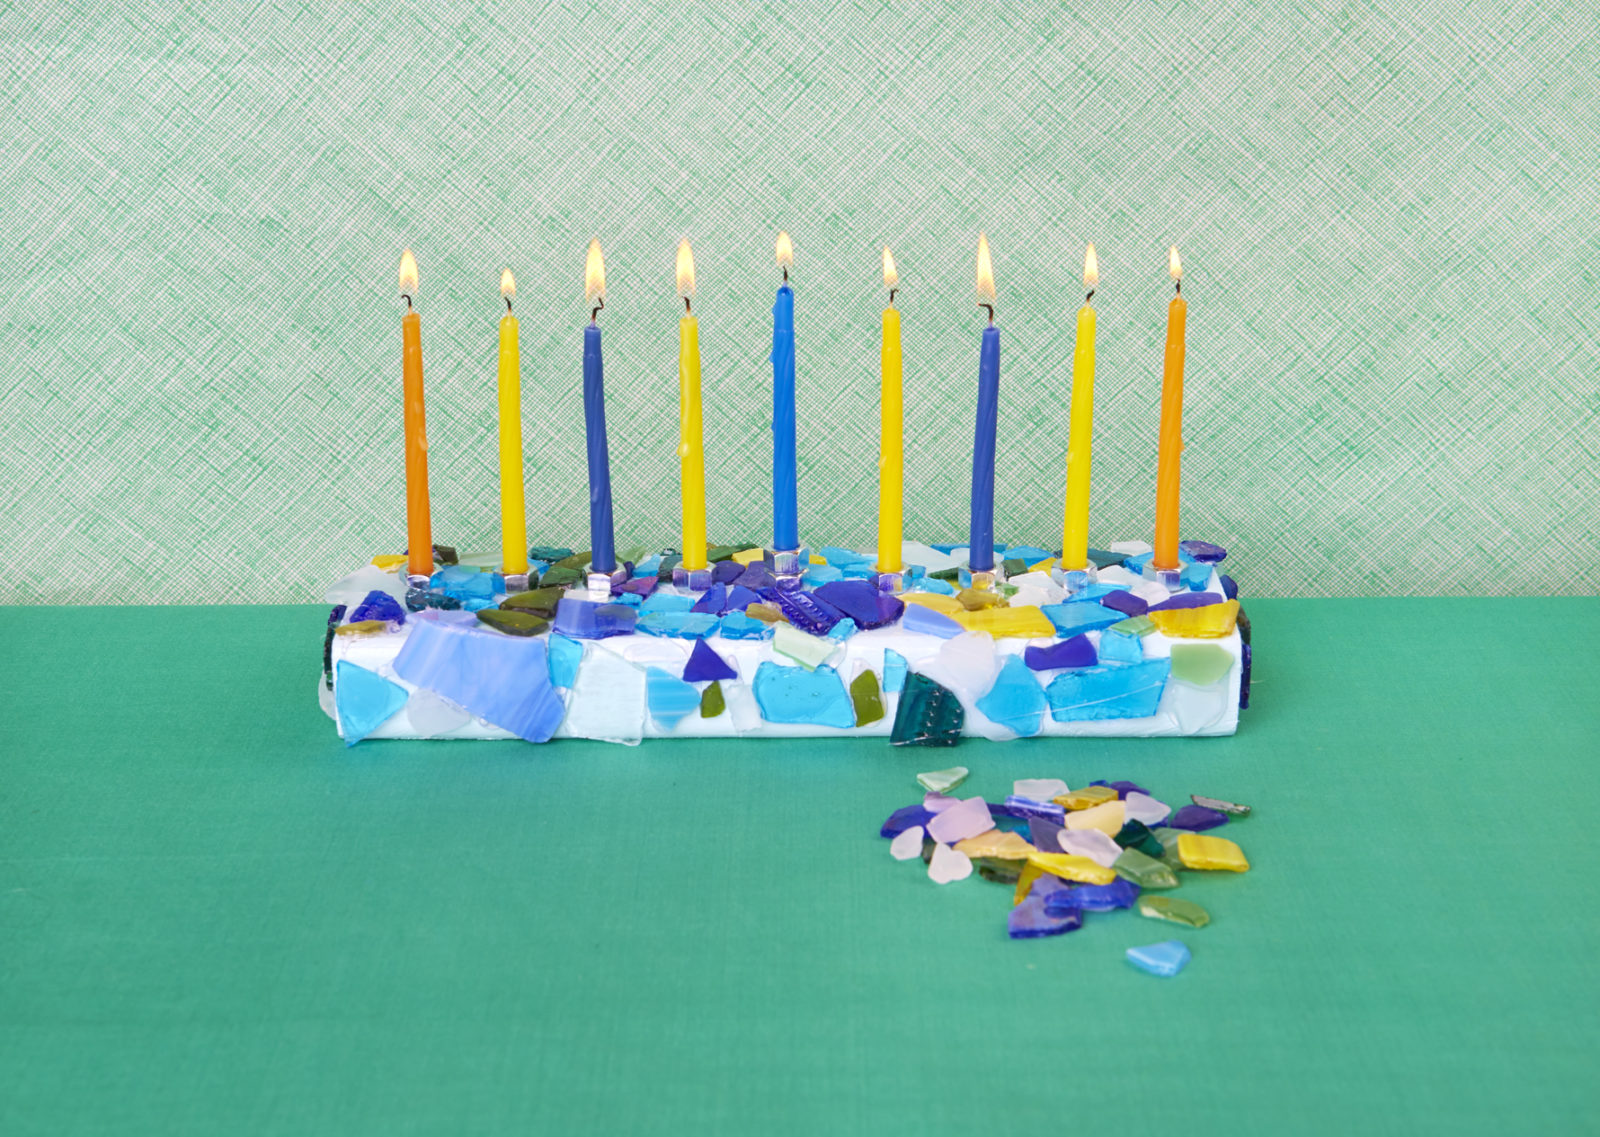
Glue mosaic tiles (or your décor of choice) on top and sides of Menorah, fitting different sizes and shapes into place until the Menorah is completed covered.
Step 4:
Light Menorah for 8 nights to celebrate Hanukkah!