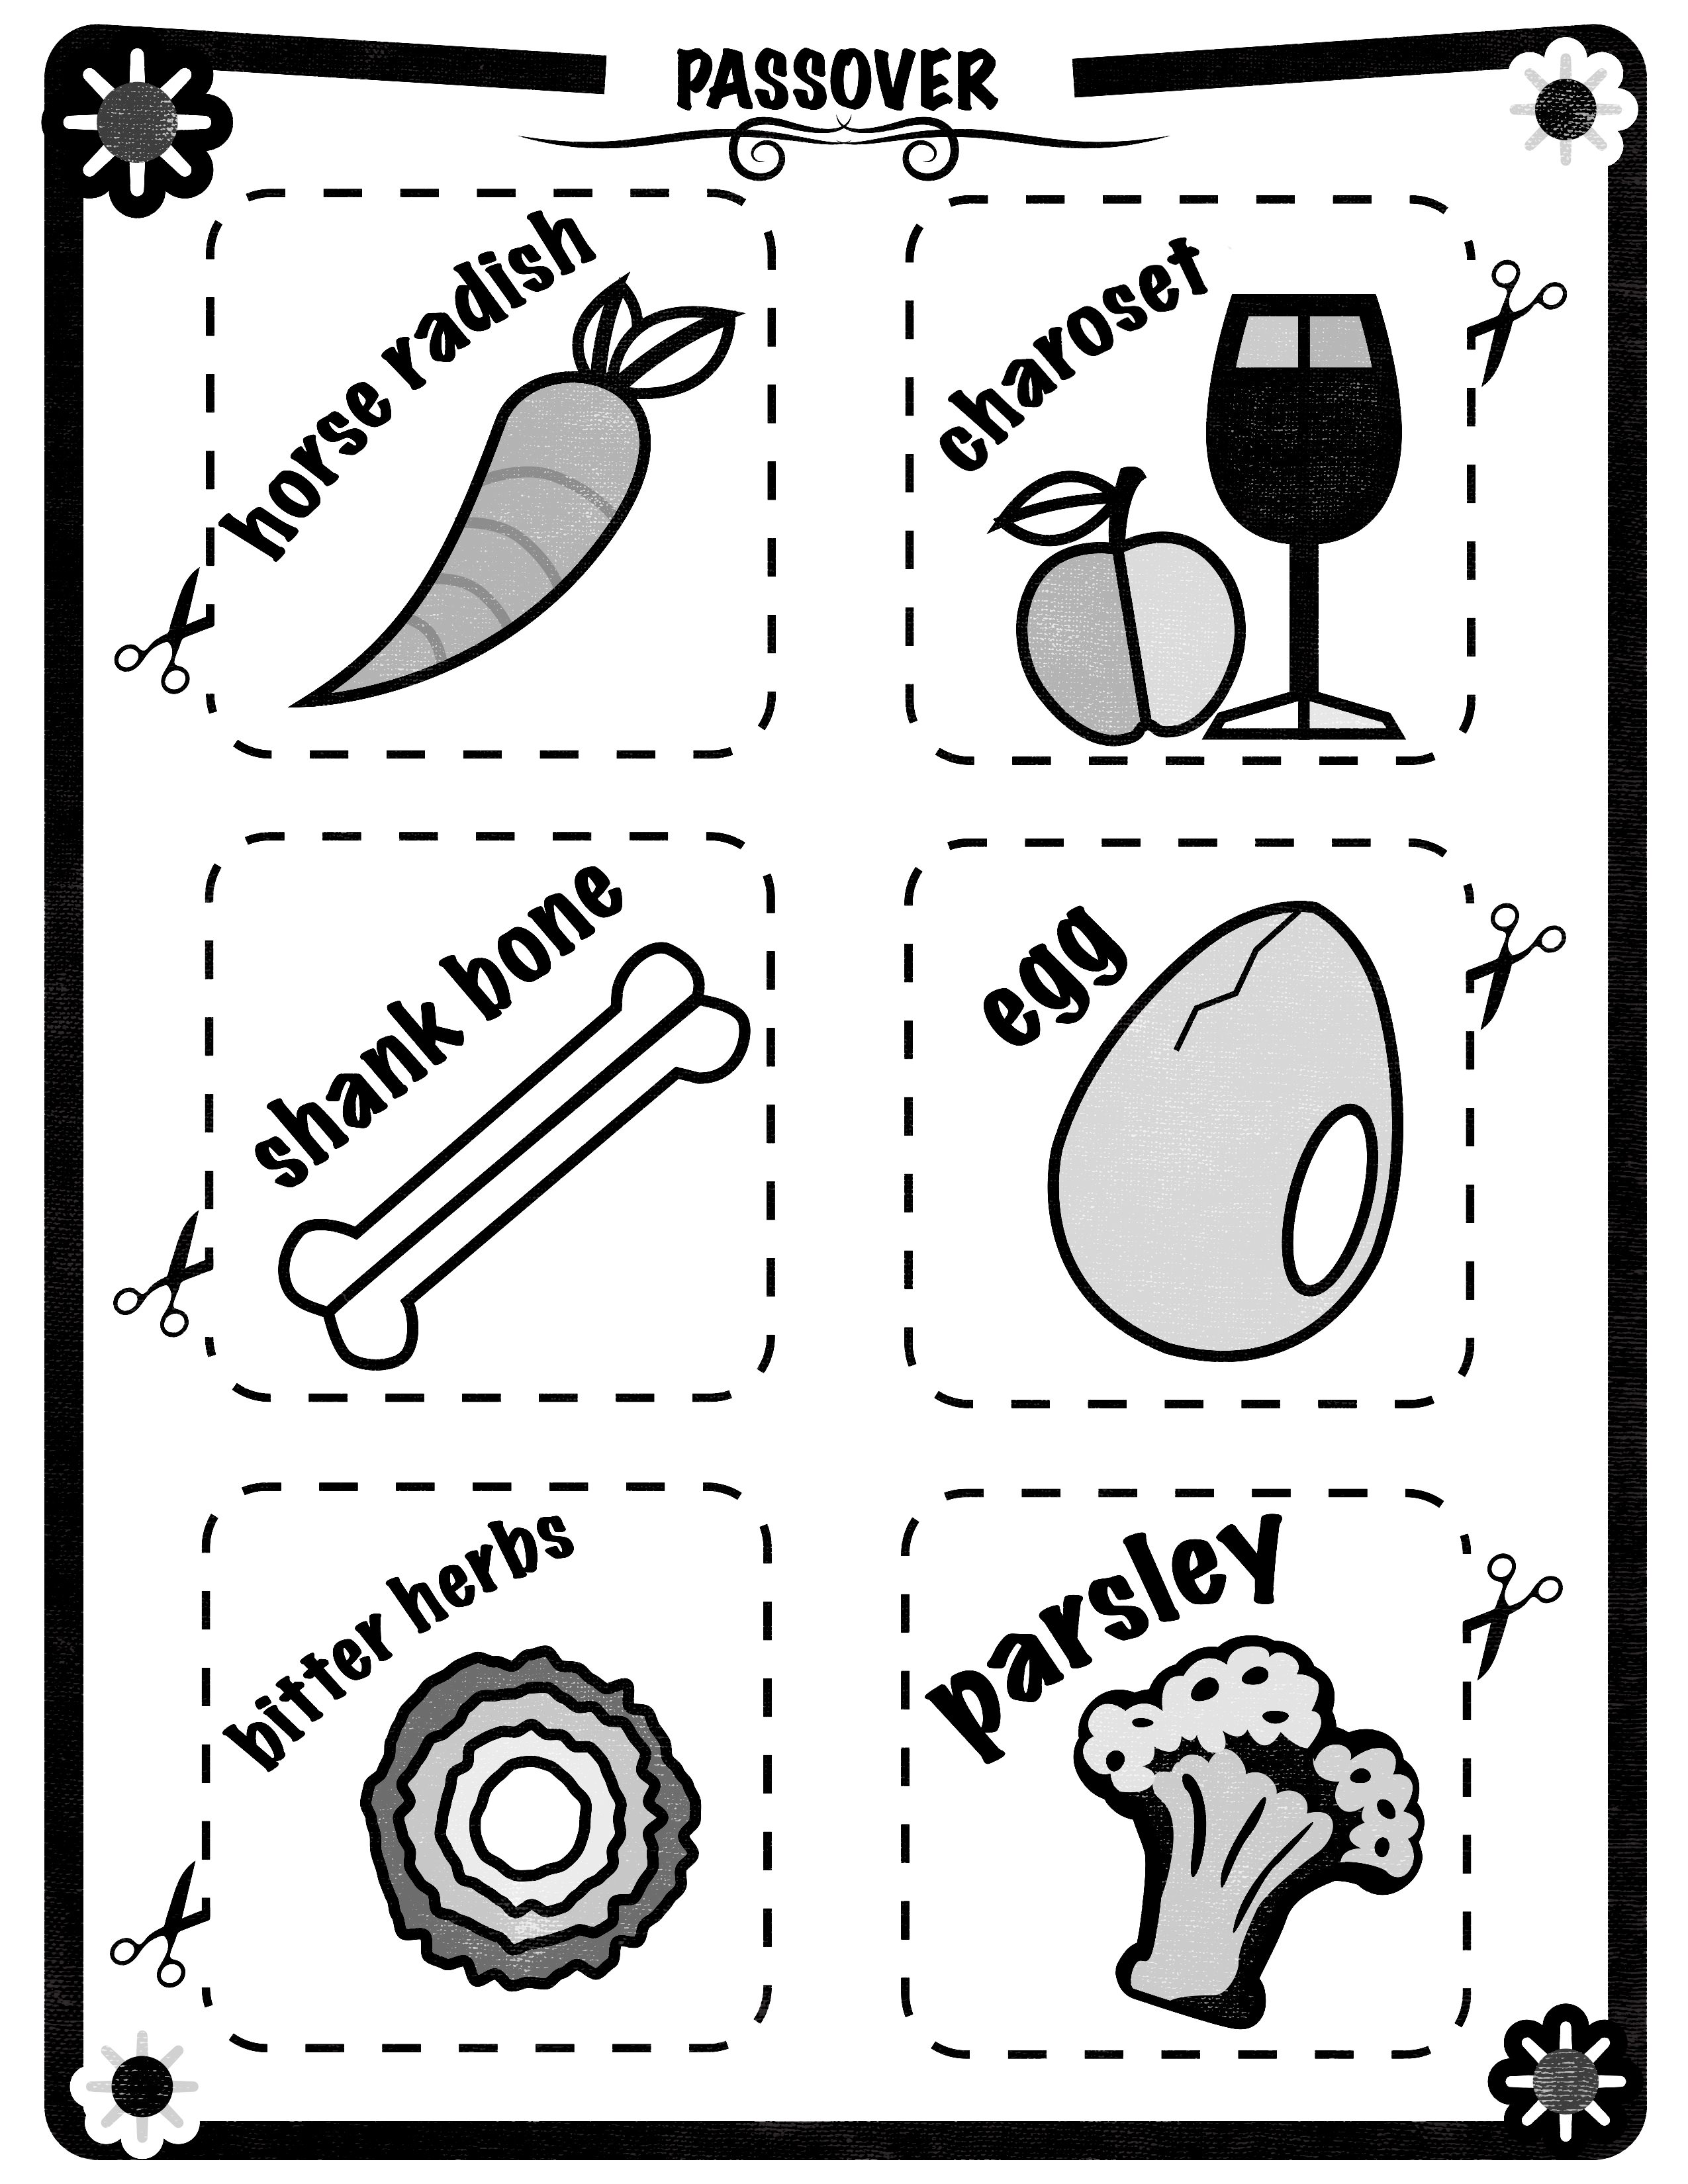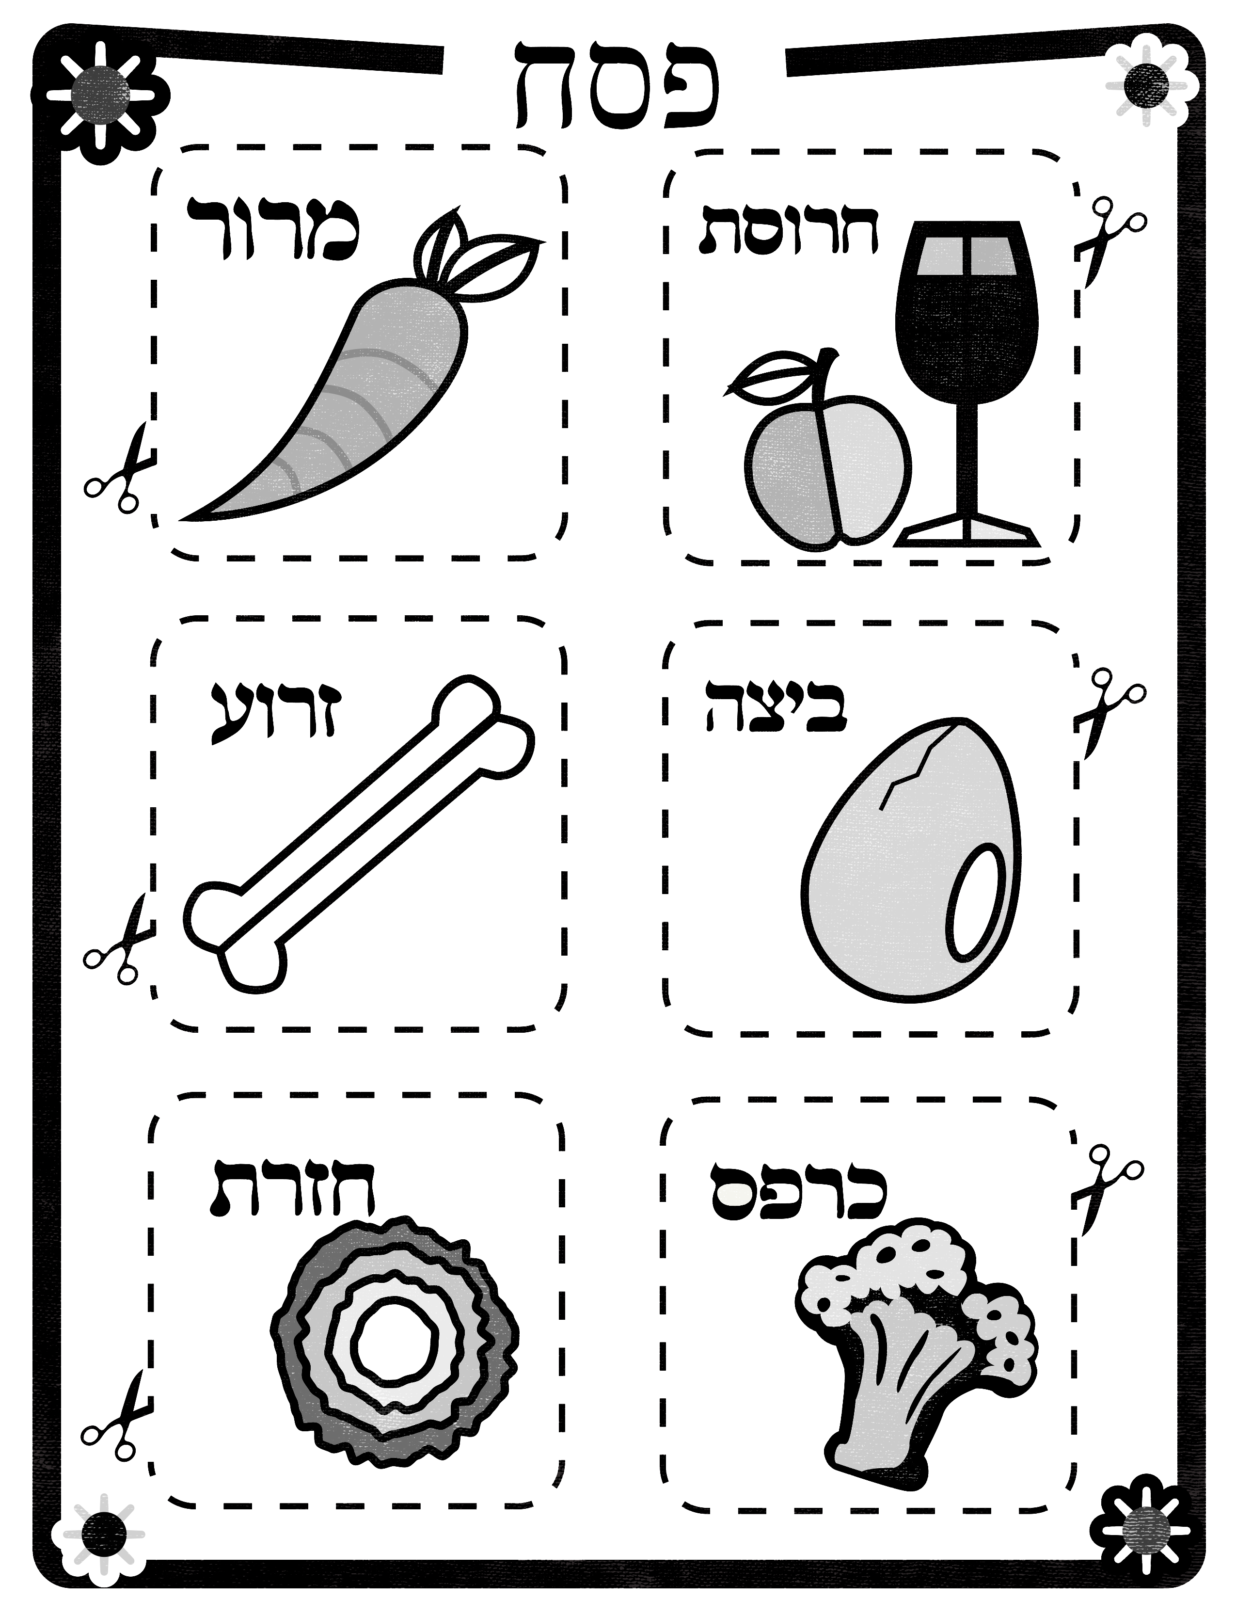
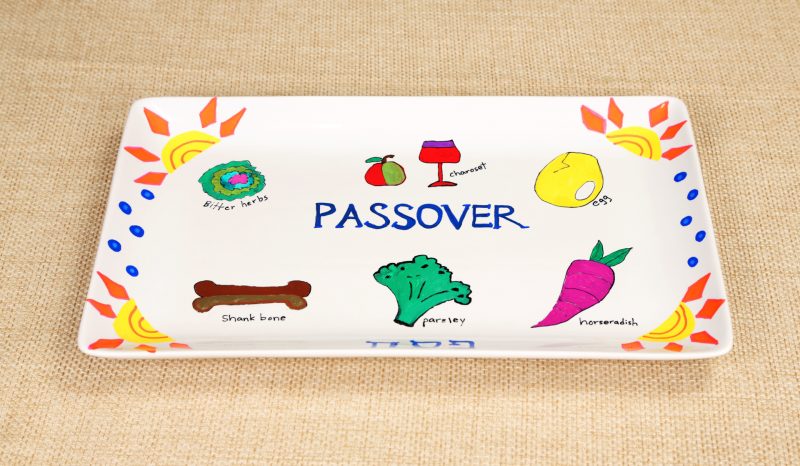
Six traditional items are arranged on the seder plate, which is the focal point of the Passover Table. These include Maror (Bitter Herbs), Charoset (Mortar), Karpas (a vegetable), Zeroah (Lamb Shank), Beitzah (hard boiled egg), Chazeret (more bitter herbs). Each item has a special place on the seder plate, and each has a special significance to the retelling of the story of the exodus from Egypt.
Typically, seder plates are round with room for the word or image “Pesach” in the middle. Using a rectangle seder plate, you can create a non-traditional and modern seder plate with a spot for each of the 6 items. This is so simple to do! Make sure you date the bottom of the plate so this timeless piece can be used and remembered for many years to come.
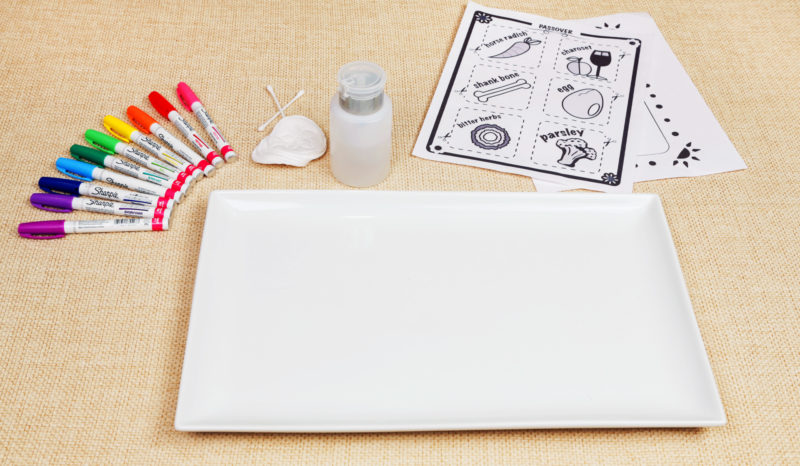
Materials:
- Serving Platter: Rectangle Ceramic Plate can be purchased at any home store…we found ours at Target. Just make sure it is large enough to hold all the seder items and bowls if you wish. Use small bowls or espresso saucers.
- Sharpie Oil-Based Markers (fine point) (these will also be used for Miriam and Elijah Glass Activity)
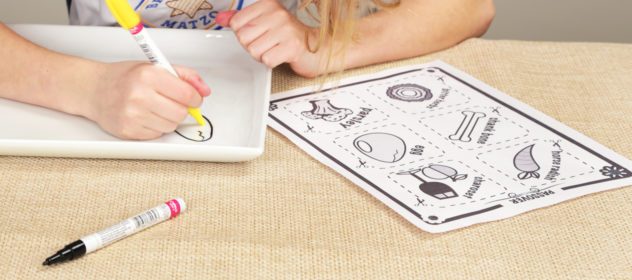
- Image guides (see below)
Step 1:
Wipe down paintable area with alcohol pad. Check out our templates here to use as a reference, or create or find your own pattern.
Step 2:
Paint words and or images on bowls/plates or directly on plate. Outline first with black oil sharpie and use alcohol swab with qtip to remove excess paint. Then use Sharpies to color in images and decorate seder plate with all the items that appear on the plate for your Passover seder.
Step 3:
Let paint dry for 24-48 hours.
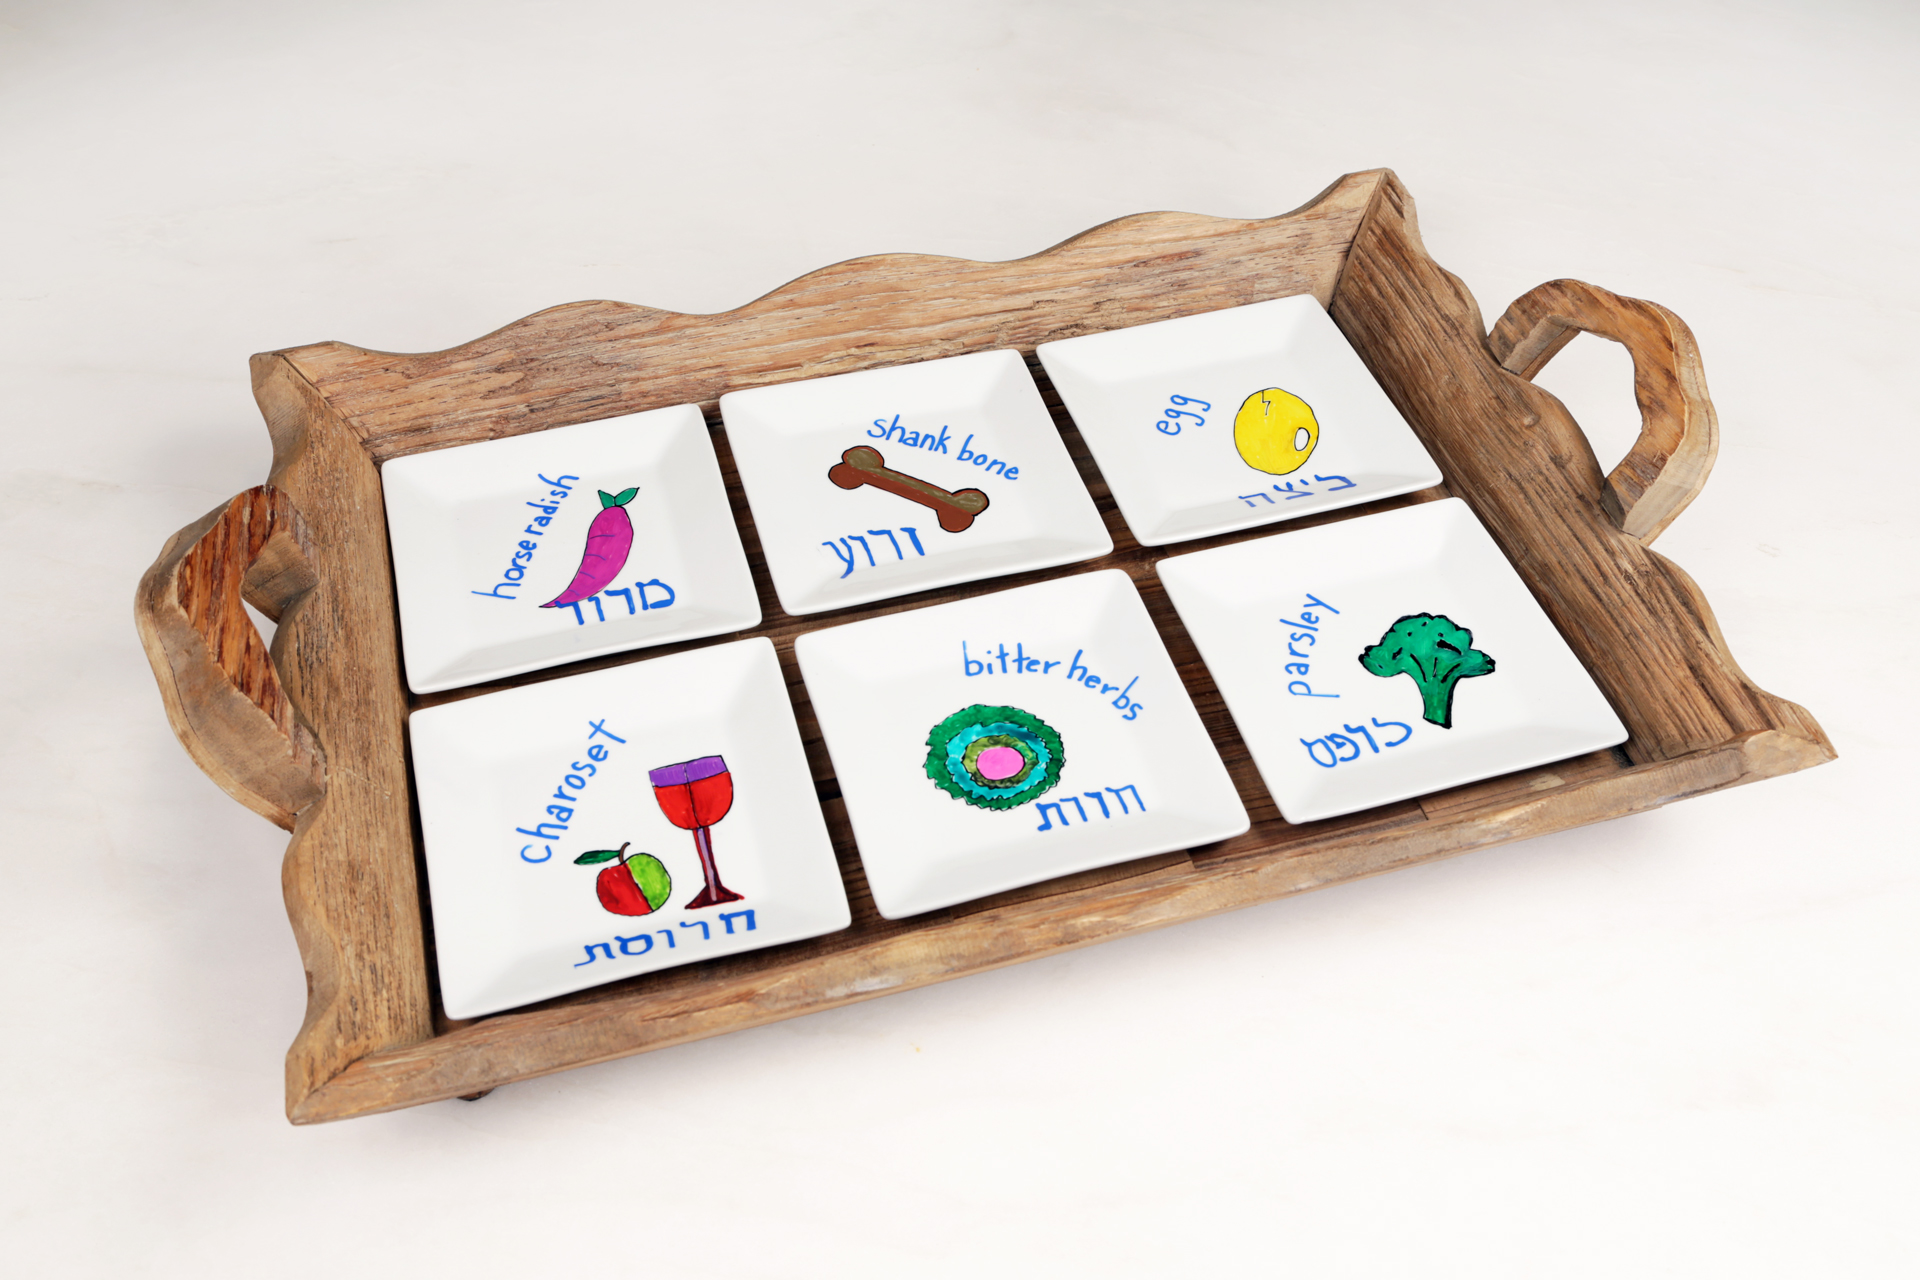
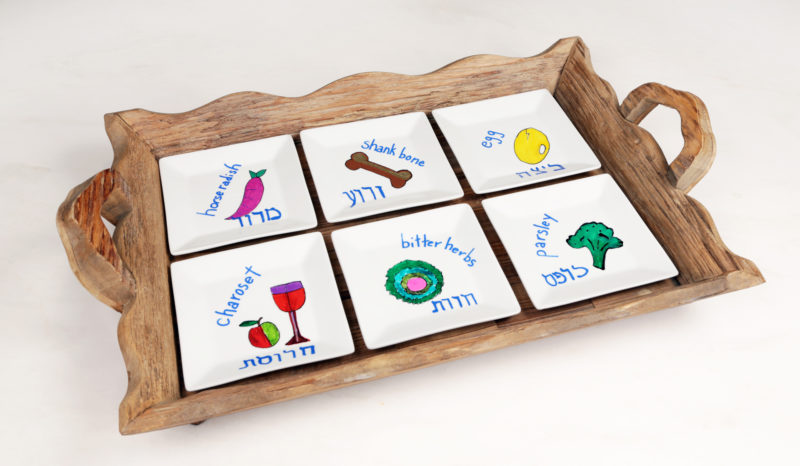
Here’s another version we made with small plates that fit into a larger tray. Use your imagination when you choose your dishes to make your seder plate.
TEMPLATES (click images below to view larger):